Over the past few years since the launch of the Ethereum network and other blockchains that can create tokens, initial coin offerings (ICOs) have been all the rage as all of these token projects have raised billions of dollars in ether, bitcoin, and other cryptocurrencies. A great majority of the ICOs today are ‘ERC-20 tokens’ created by the Ethereum Virtual Machine (EVM) with no more than a few hundred lines of code. Unfortunately, there’s a big misconception that a bunch of nerdy geniuses created these blockchain-based tokens, and today we’re going to show you just how easy it is to create an ERC-20 token — In less than thirty minutes.
Posternut (PNT): The ERC-20 Token Created in Less Than 30 Minutes
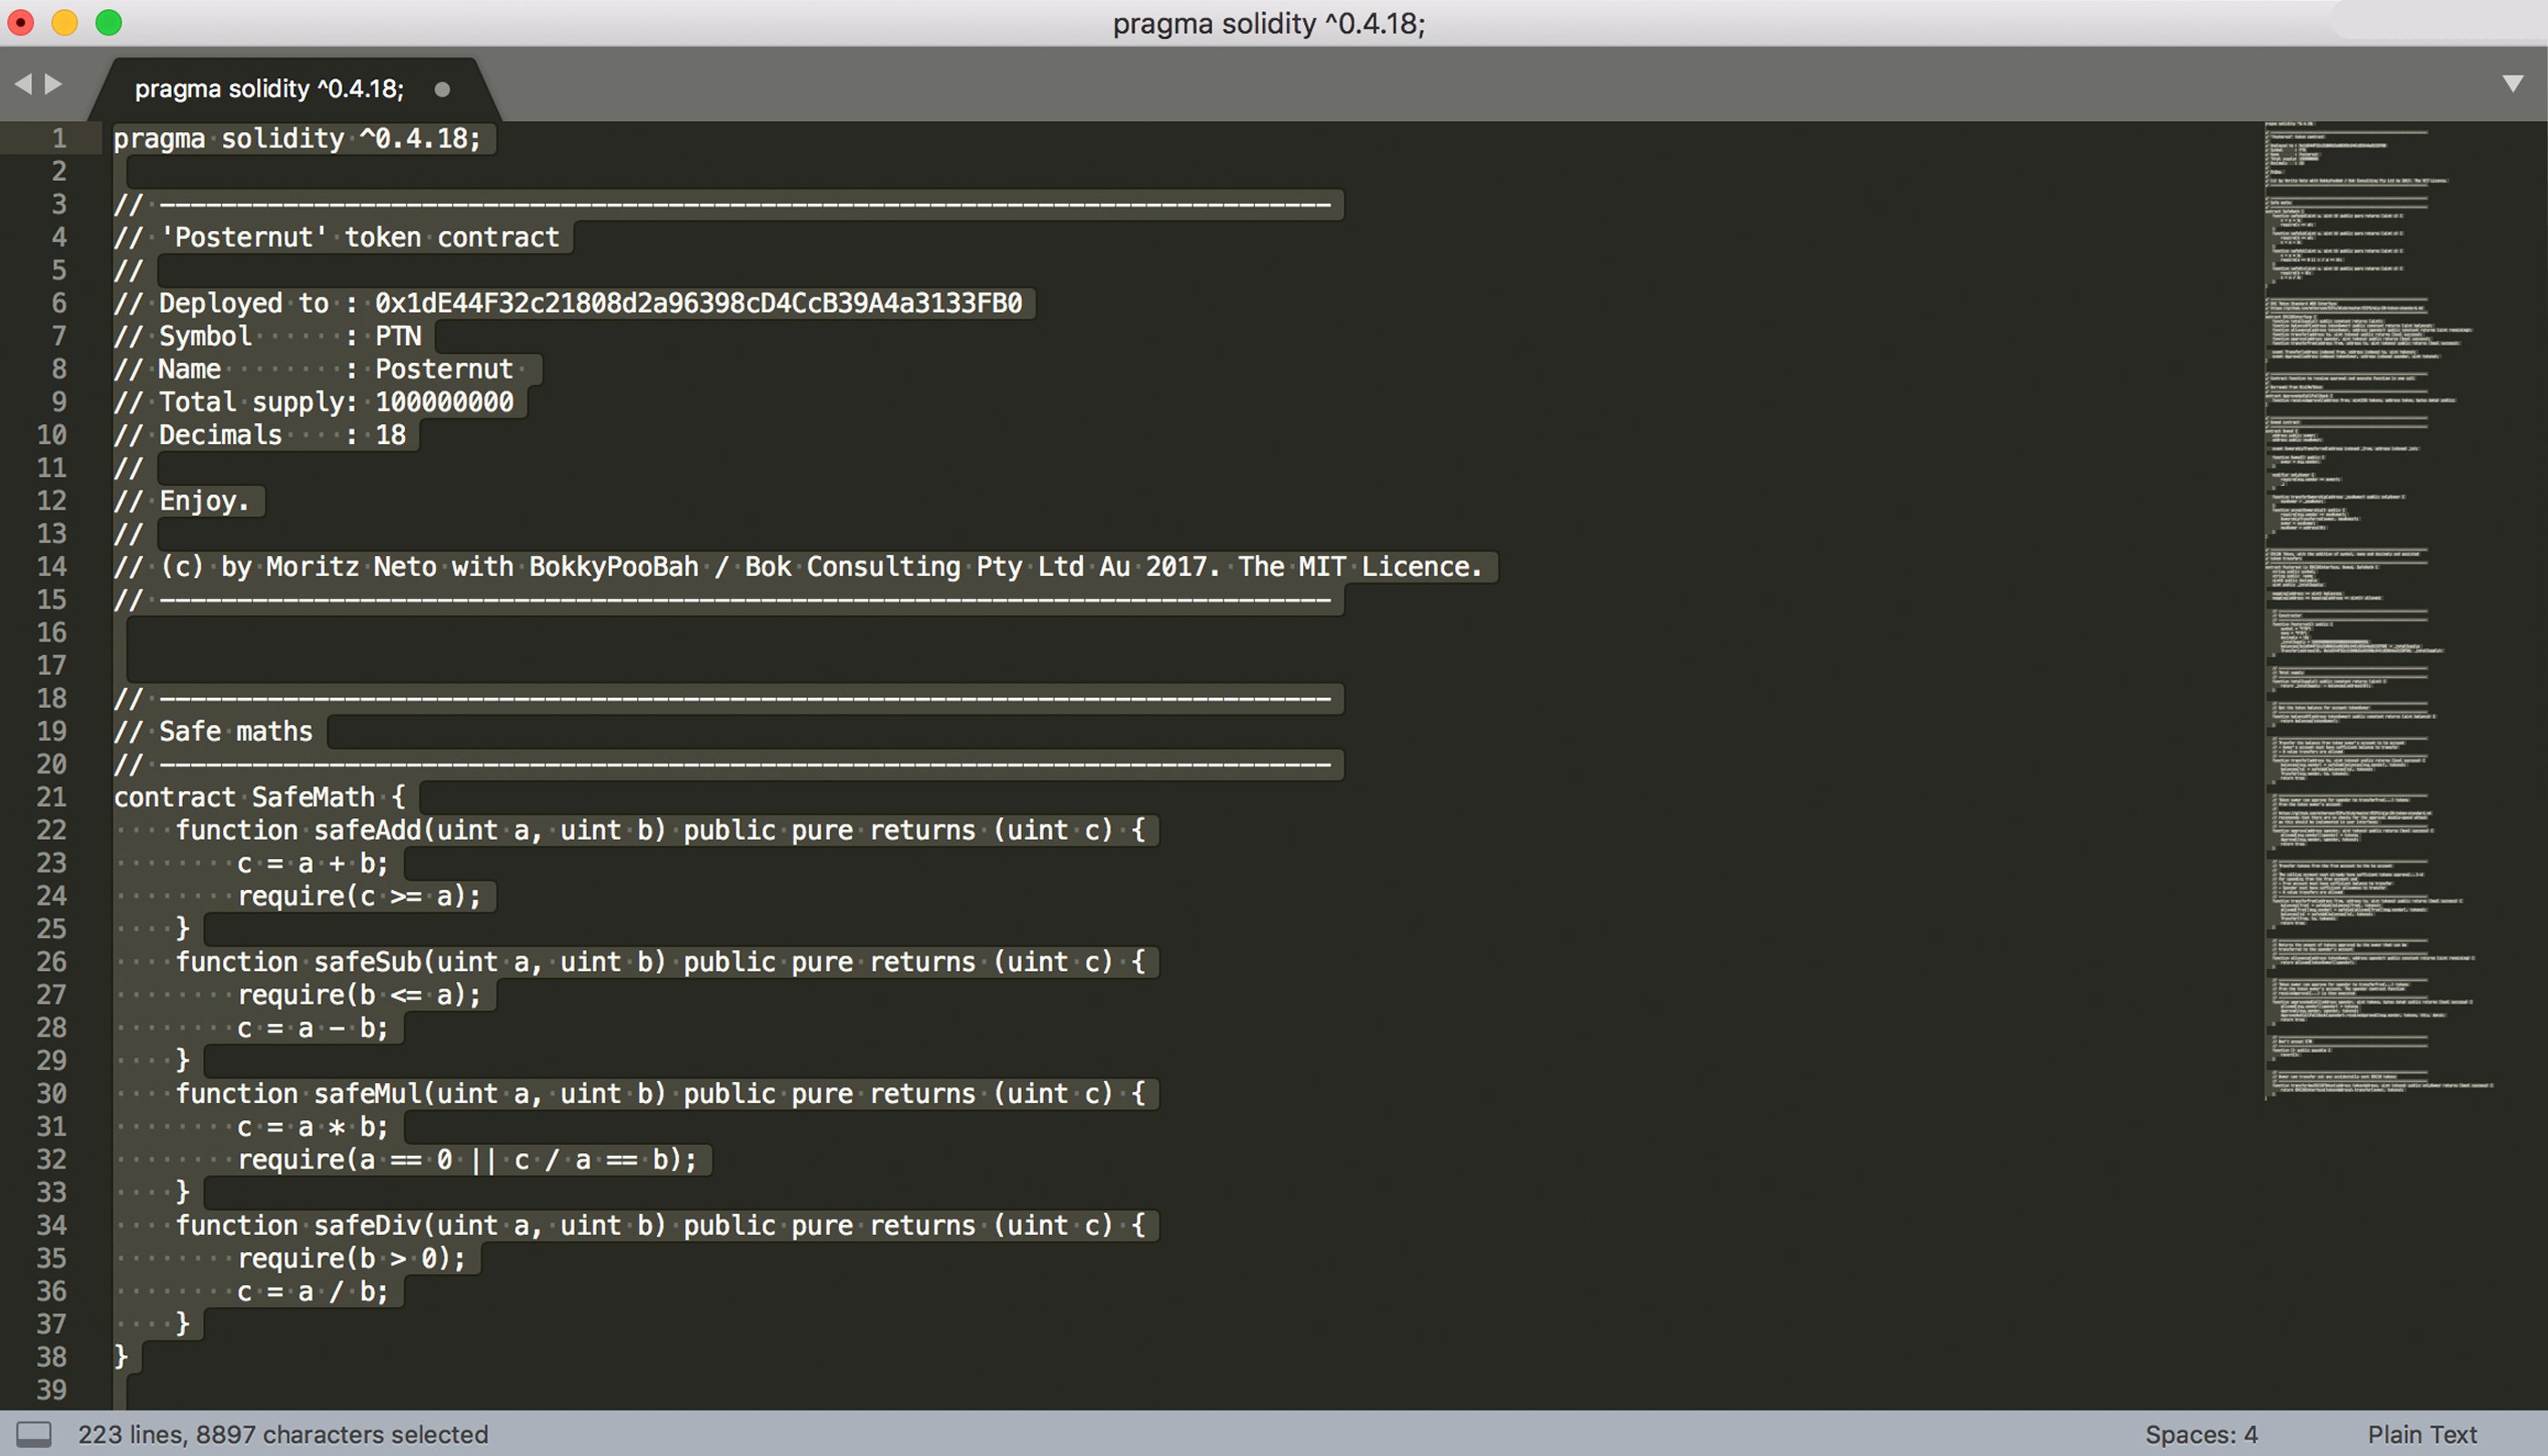
Today we decided to create a contract using the programming language Solidity, in order to create a custom token using the Ethereum network. We want to demonstrate just how easy it is for anyone with very little coding knowledge to launch a coin. There are lots of ICOs out there in the crypto-space and a great majority of them are ERC-20s derived from the public Ethereum blockchain. Essentially an ERC-20 token is a contract written in Solidity that sets the parameters of the coins attributes, like where the tokens are stored, the token’s name, ticker symbol, supply, and more.

The Necessary Requirements
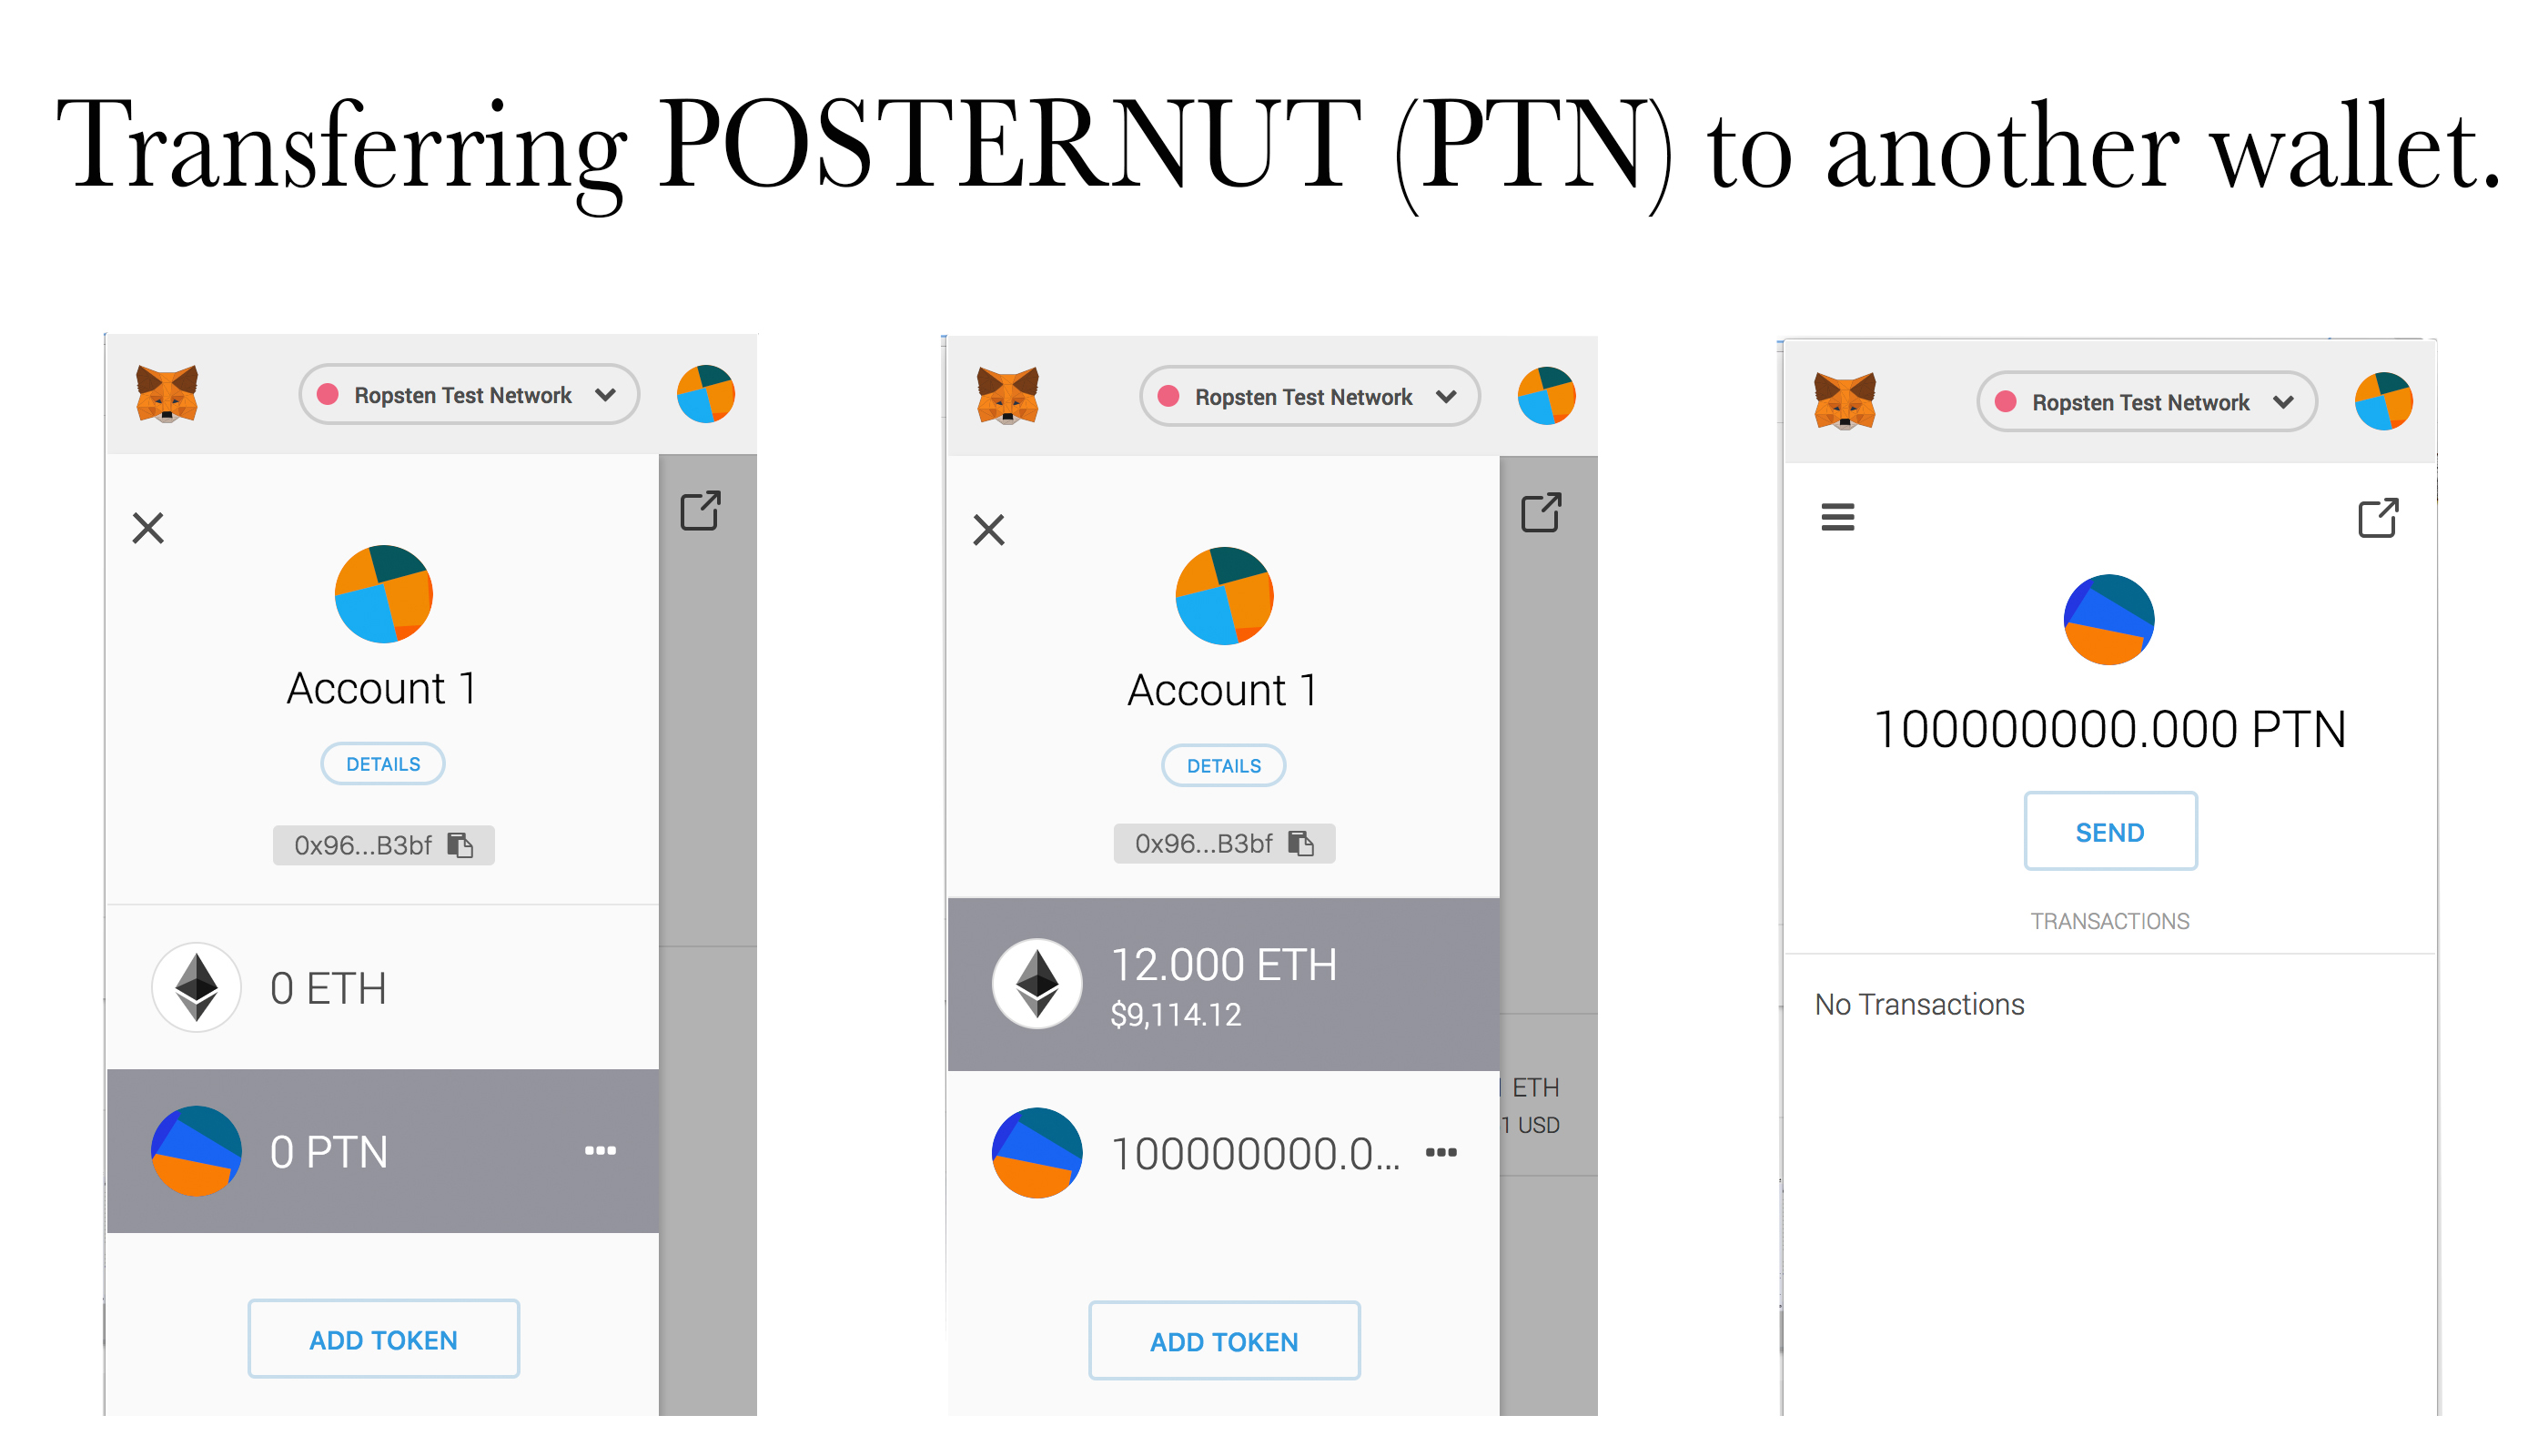
Finding out how to create a token only takes a minute with a quick Google search on the subject. We followed a short walkthrough written by Moritz Neto, and watched a quick video filmed by the Youtuber Ivan on Tech. Both instructions detailed the creation of an ERC-20 token that can be done in less than 20 minutes, and we created a token called ‘Posternut (PTN) in 25 minutes. In light of our first time creating a Solidity contract, we used ETH testnet tokens on the Ropsten Network so no real funds were lost.

Next, we decided to download the Metamask Chrome extension Ether wallet, a fairly smooth platform but still in beta. Other wallets can be used to create a token contract as well, like Mist and the My Ethereum Wallet (MEW) platform. You are also going to need some testnet ETH for the ‘gas’ (network fee) to create the contract on the Ropsten Network, and there are a bunch of Ropsten faucets that dispense testnet ETH. We stocked up on some coins and then found a contract which we got in Moritz Neto’s guide, but there are all types of solidity contracts that can be re-written. Basically, we left this page open in the browser to copy and paste the Solidity contract, and all that is needed next is some slight modifications.

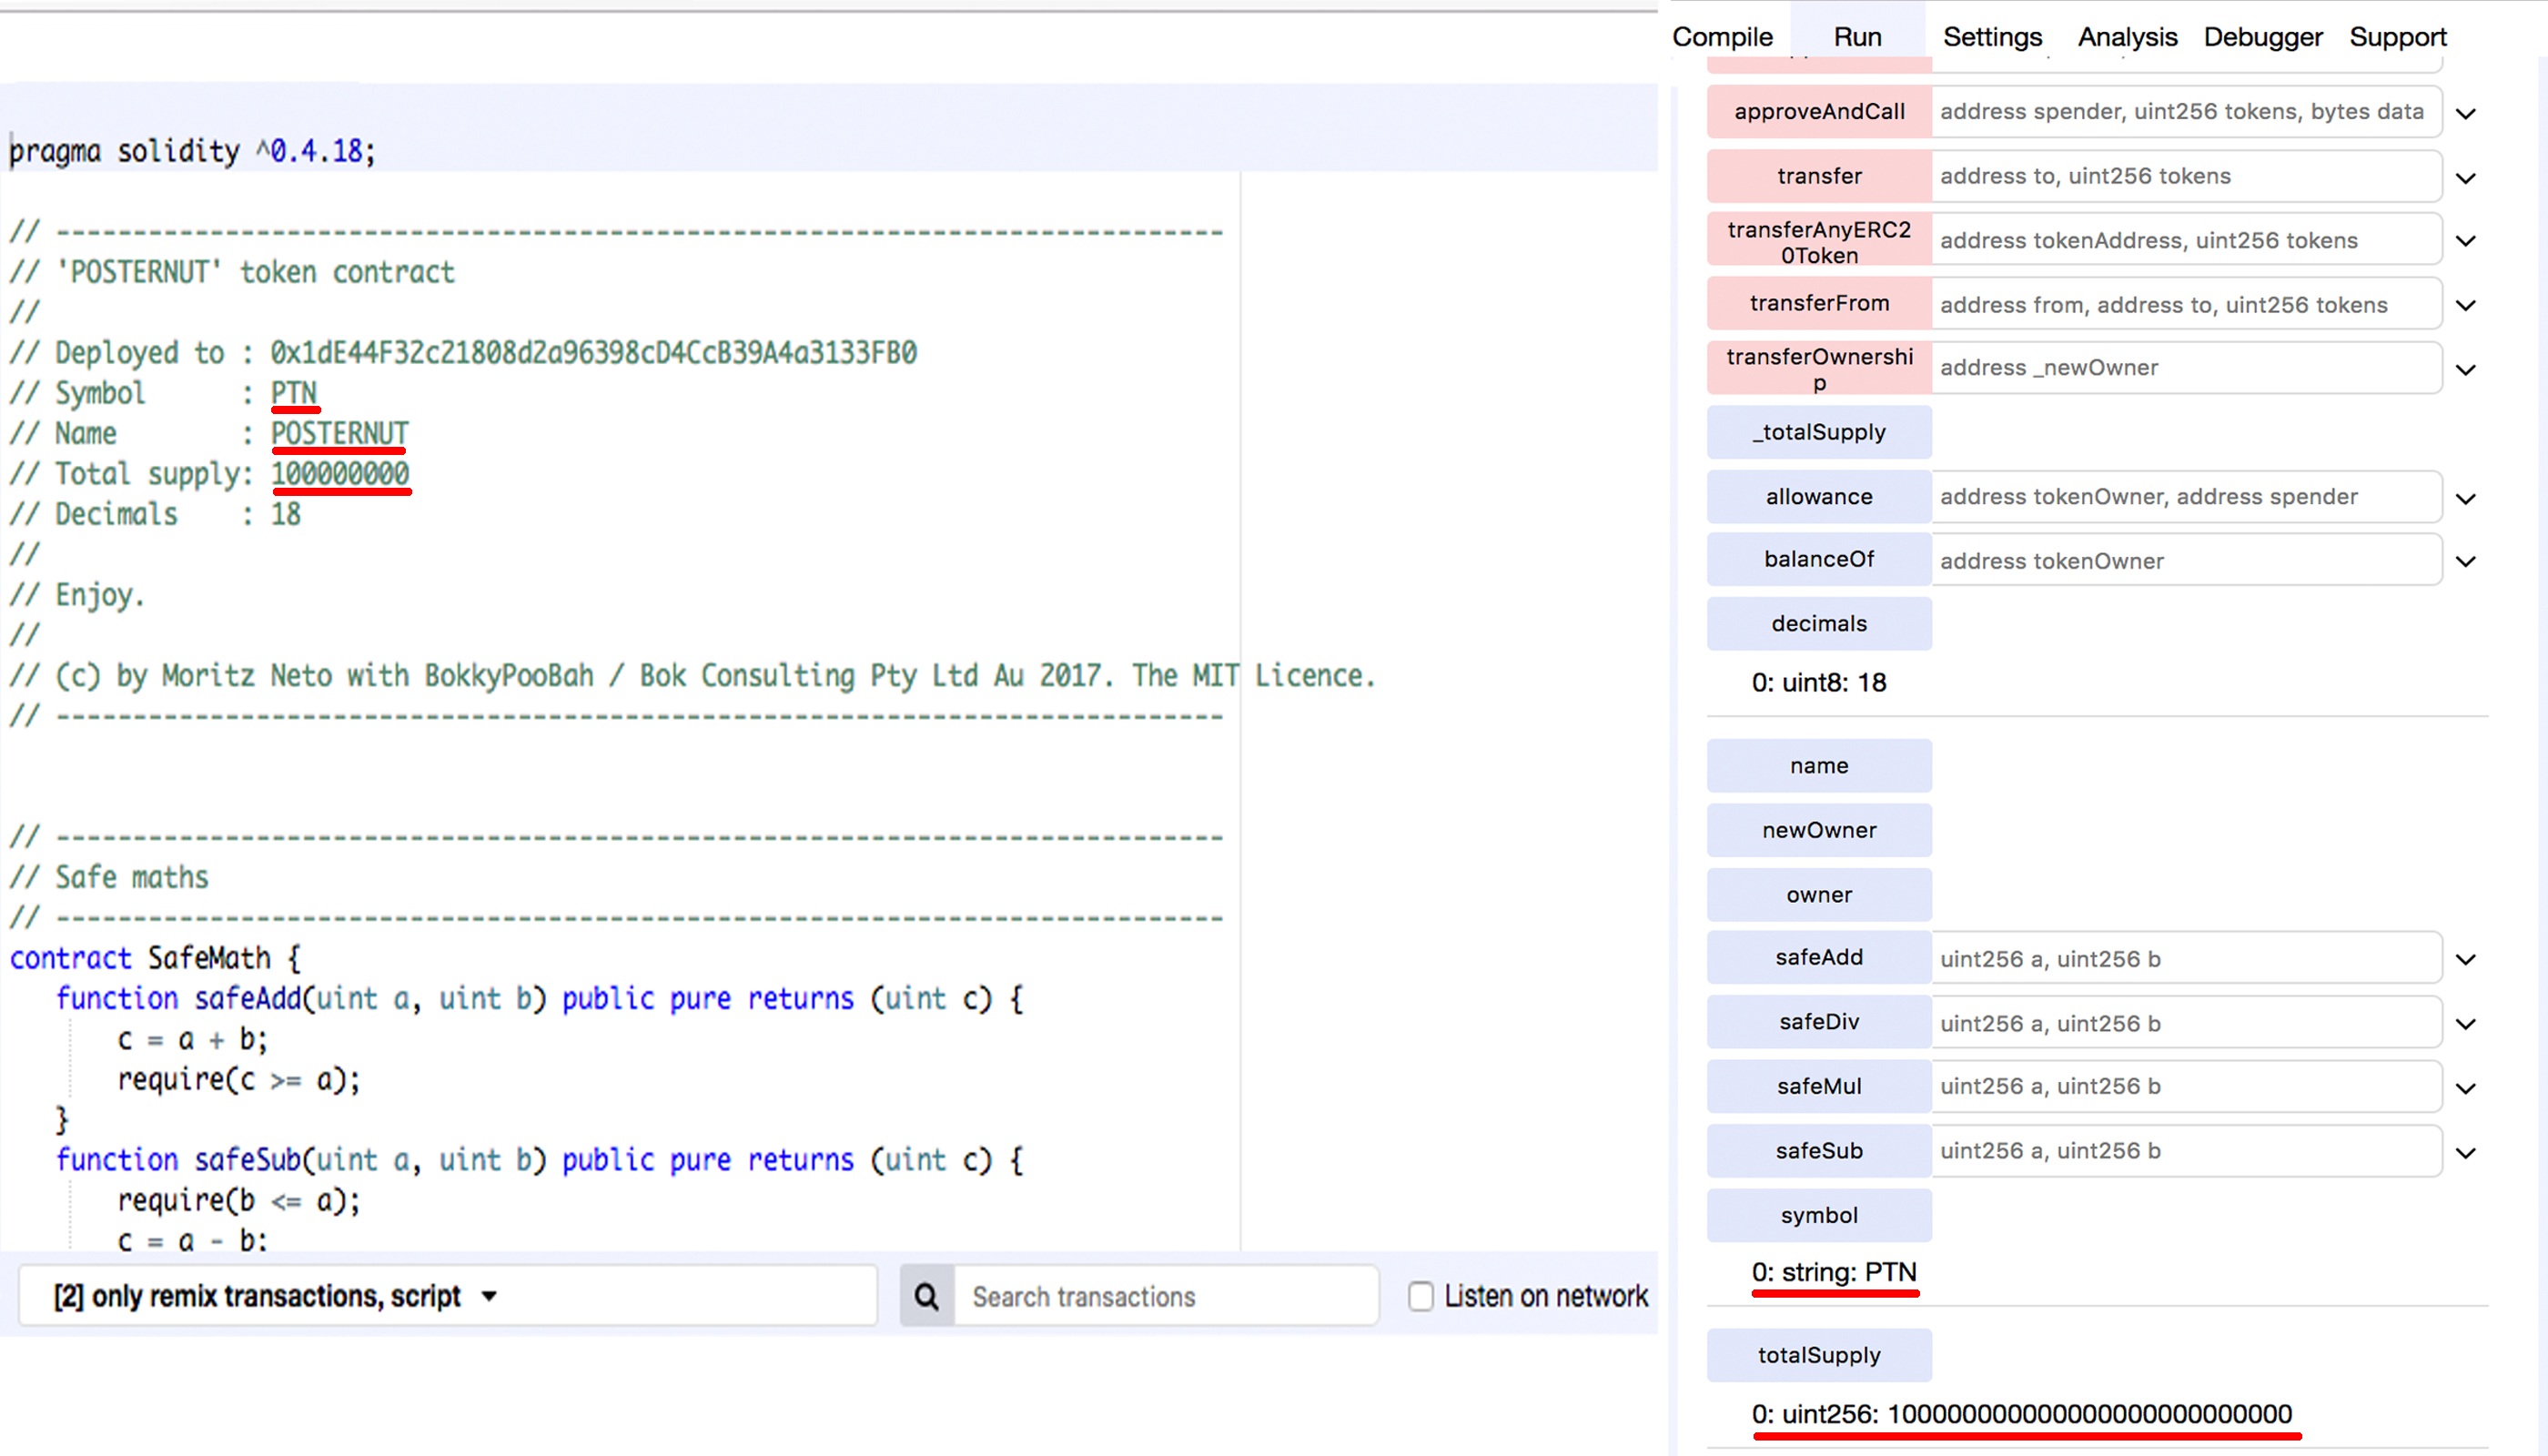
Then we went to a website called remix.ethereum.org which is used to launch the contract. This process can also be processed on the aforementioned wallets above as well, but we used the Remix Solidity IDE platform. After copying a token contract you need to paste the code into the Remix platform and edit a few parameters. This is when you want to choose the tokens name, the token’s symbol, the max supply, and the Ethereum address to deposit the tokens. After all of that is chosen and changed within the copy and pasted code, the next option is to ‘run’ the codebase you edited. If there are any warnings that are ‘critical’ the Remix platform will tell you something is wrong. In the ‘run’ section choose ‘Injected Web (Ropsten)’ and the name of your contract.

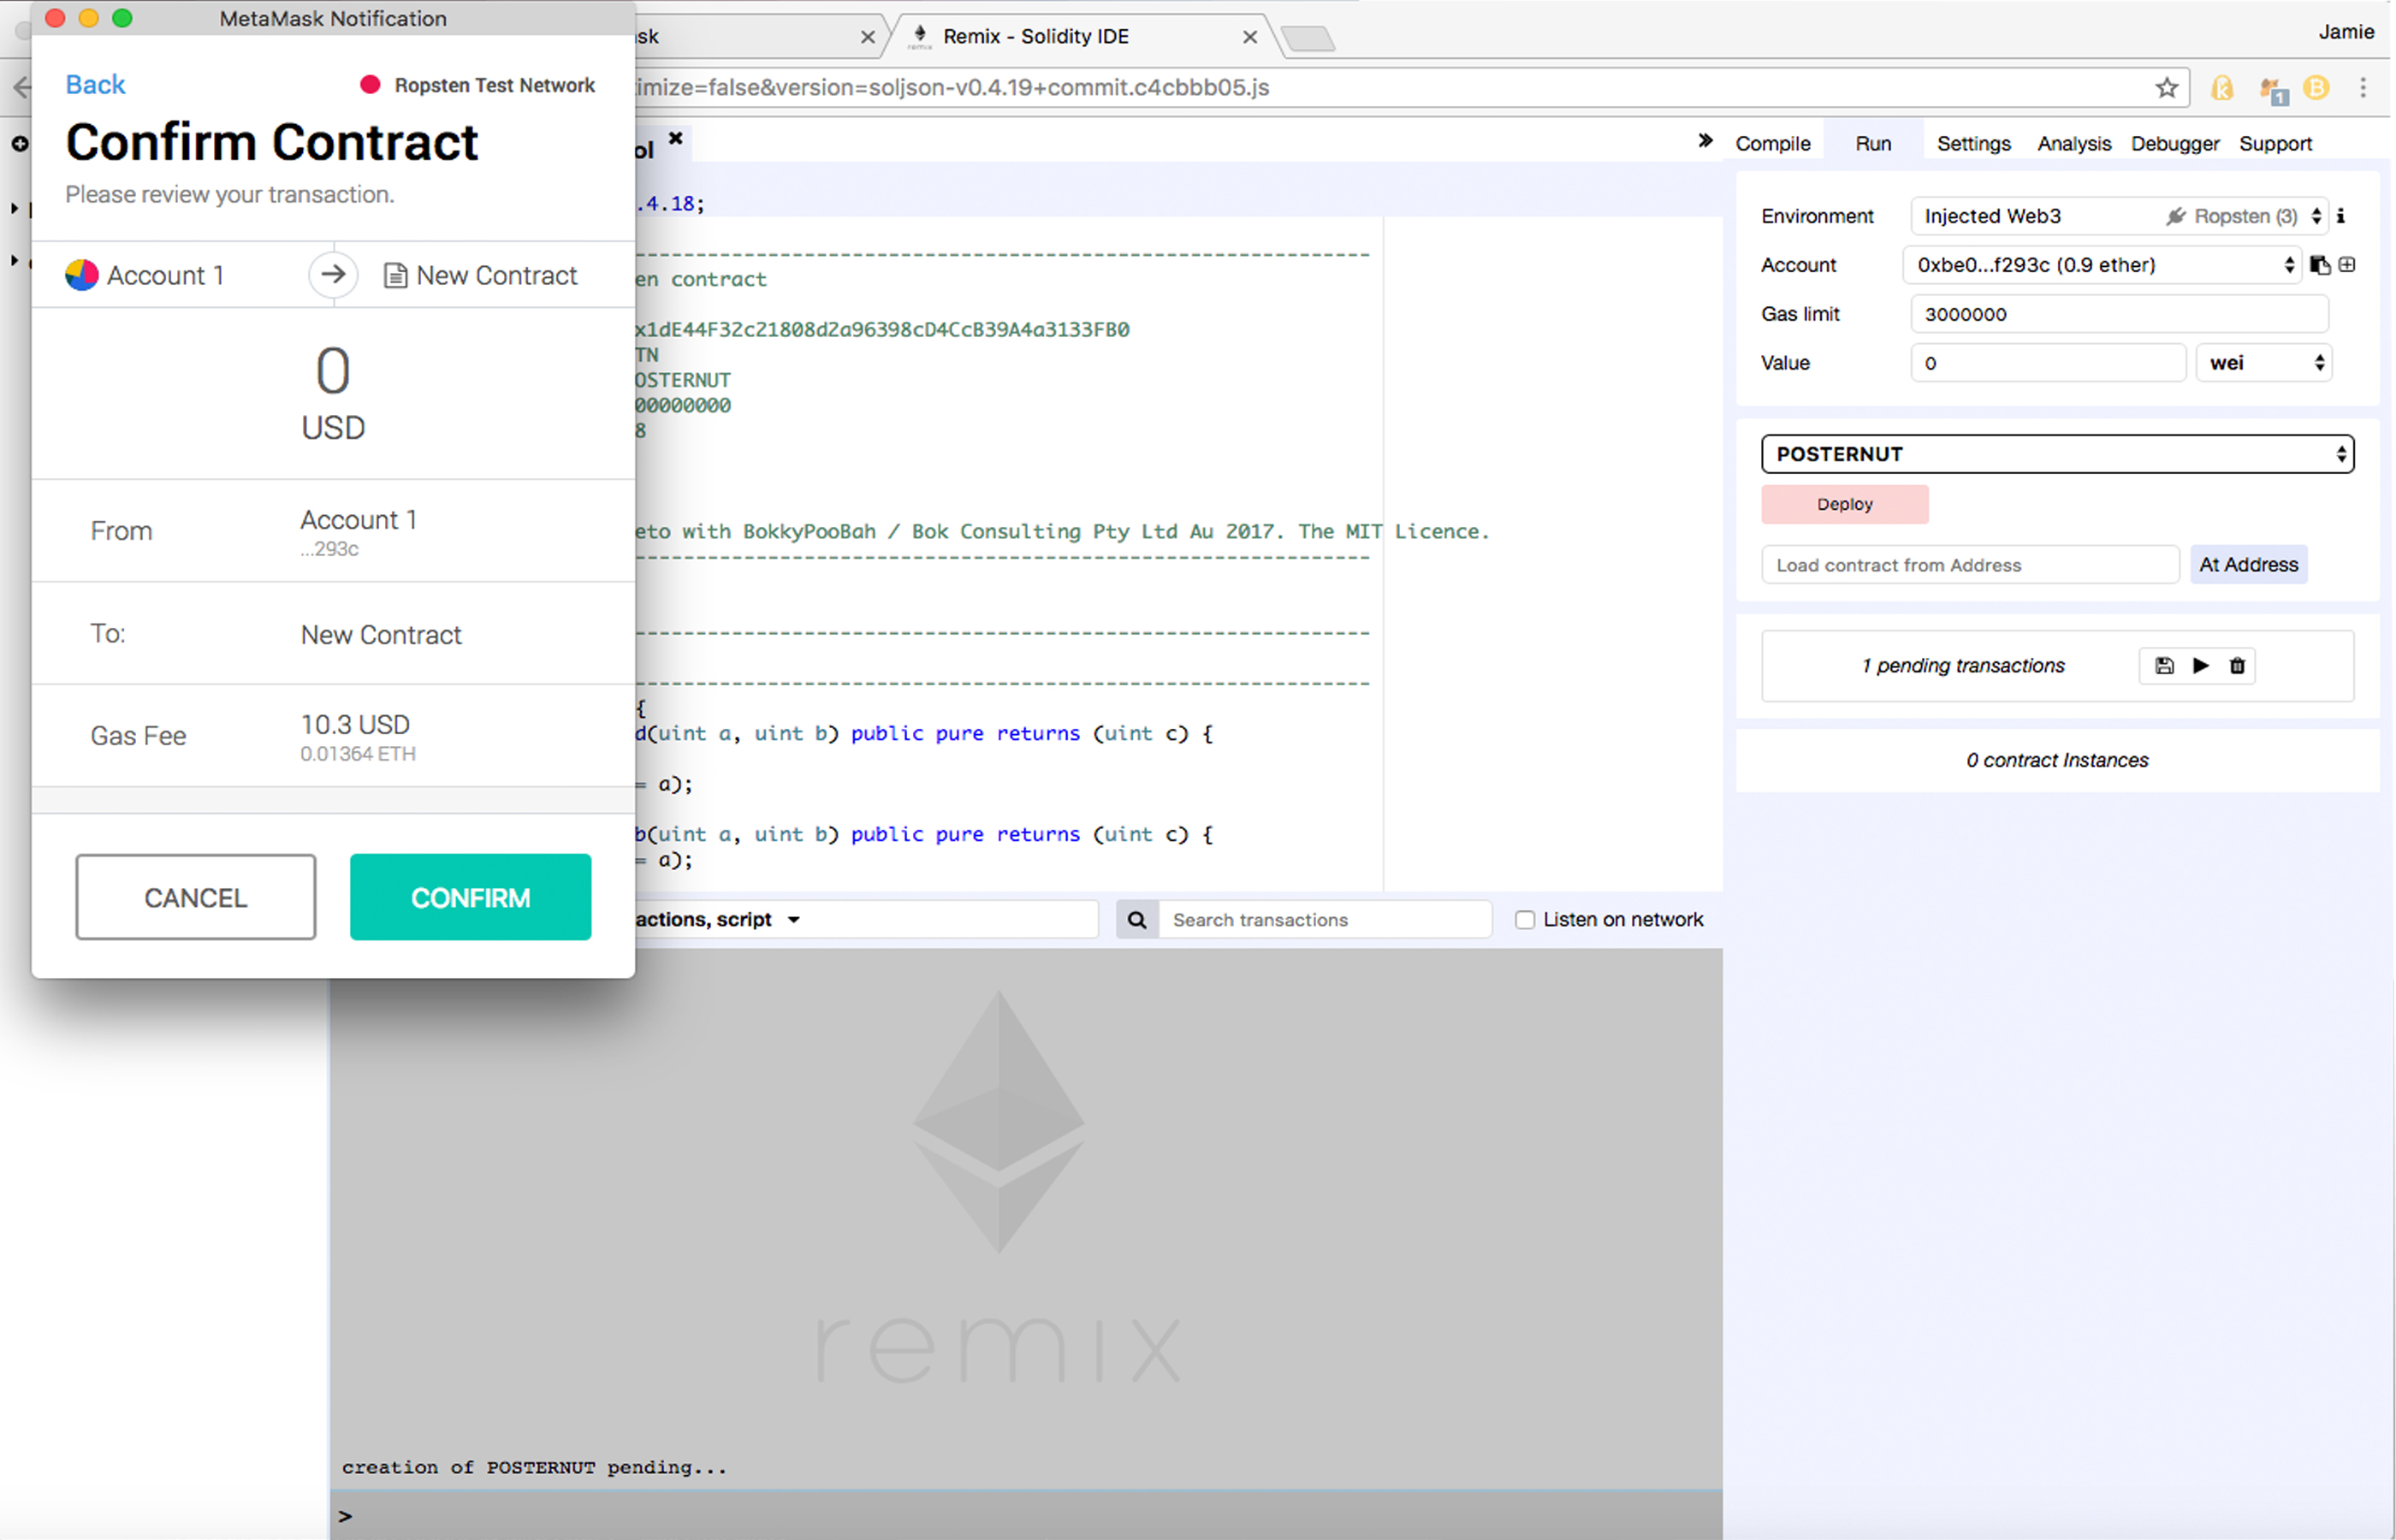
From here the Metamask address is also tethered to our account and we simply pressed deploy. If something is wrong with the contract then it will display warnings in yellow or red and you may need to fix these issues before deploying the code to the Ropsten Network. After pressing ‘deploy,’ the transaction will be sent across the network. As soon as the transaction confirms the contract should be complete as long as there were no errors.

